How to Take a Professional Medical Headshot at Home
You do not need a studio to get a usable medical headshot.
Most people just need a clear process that avoids common mistakes.
This guide gives a simple at-home setup that actually works. Run the headshot photo checklist for physicians on your pick before you post it.
From Home Selfie to Clinical Headshot
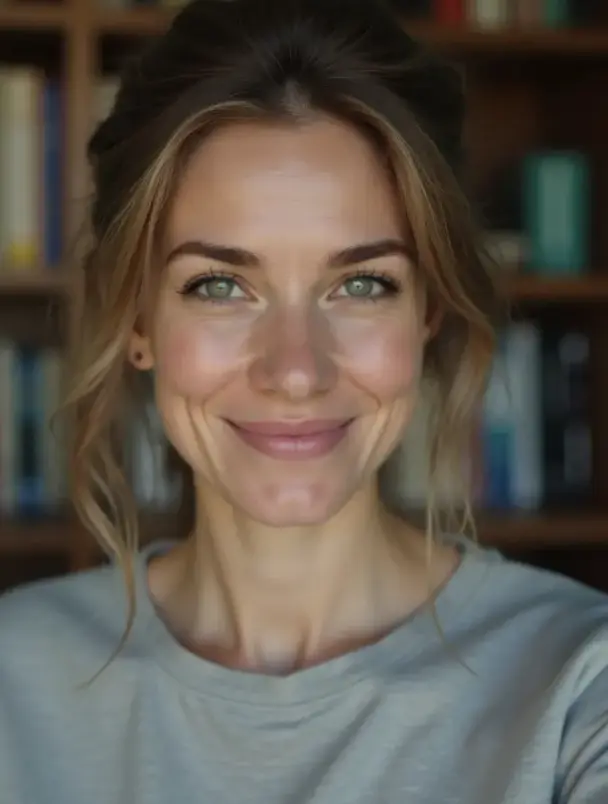
This before/after example shows what happens when a simple at-home selfie is turned into a profile-ready medical headshot. Use this as your quality benchmark while following the steps below.

Step 1: Fix your lighting first
Face a window with soft daylight.
Avoid direct sun on your face because it creates harsh shadows.
Step 2: Remove background distractions
A plain wall works well.
Remove clutter so the focus stays on your face.
Step 3: Frame, shoot, and pick your best image
Place the camera around eye level and frame chest-up.
Take multiple shots with small expression changes, then choose the most natural one. For pose and expression, read how to look photogenic for medical headshots.
- Eye-level camera
- Chest-up framing
- Natural expression
Frequently Asked Questions
Yes. Modern phones are usually good enough with proper lighting.
Not always. Window light is often enough if it is soft and even.
Wear simple, professional clothing that matches your role.
Related Pages
Turn a Home Selfie Into a Professional Headshot
Use these steps, then generate polished options you can publish on profiles and team pages.